Pico blink in pure Swift

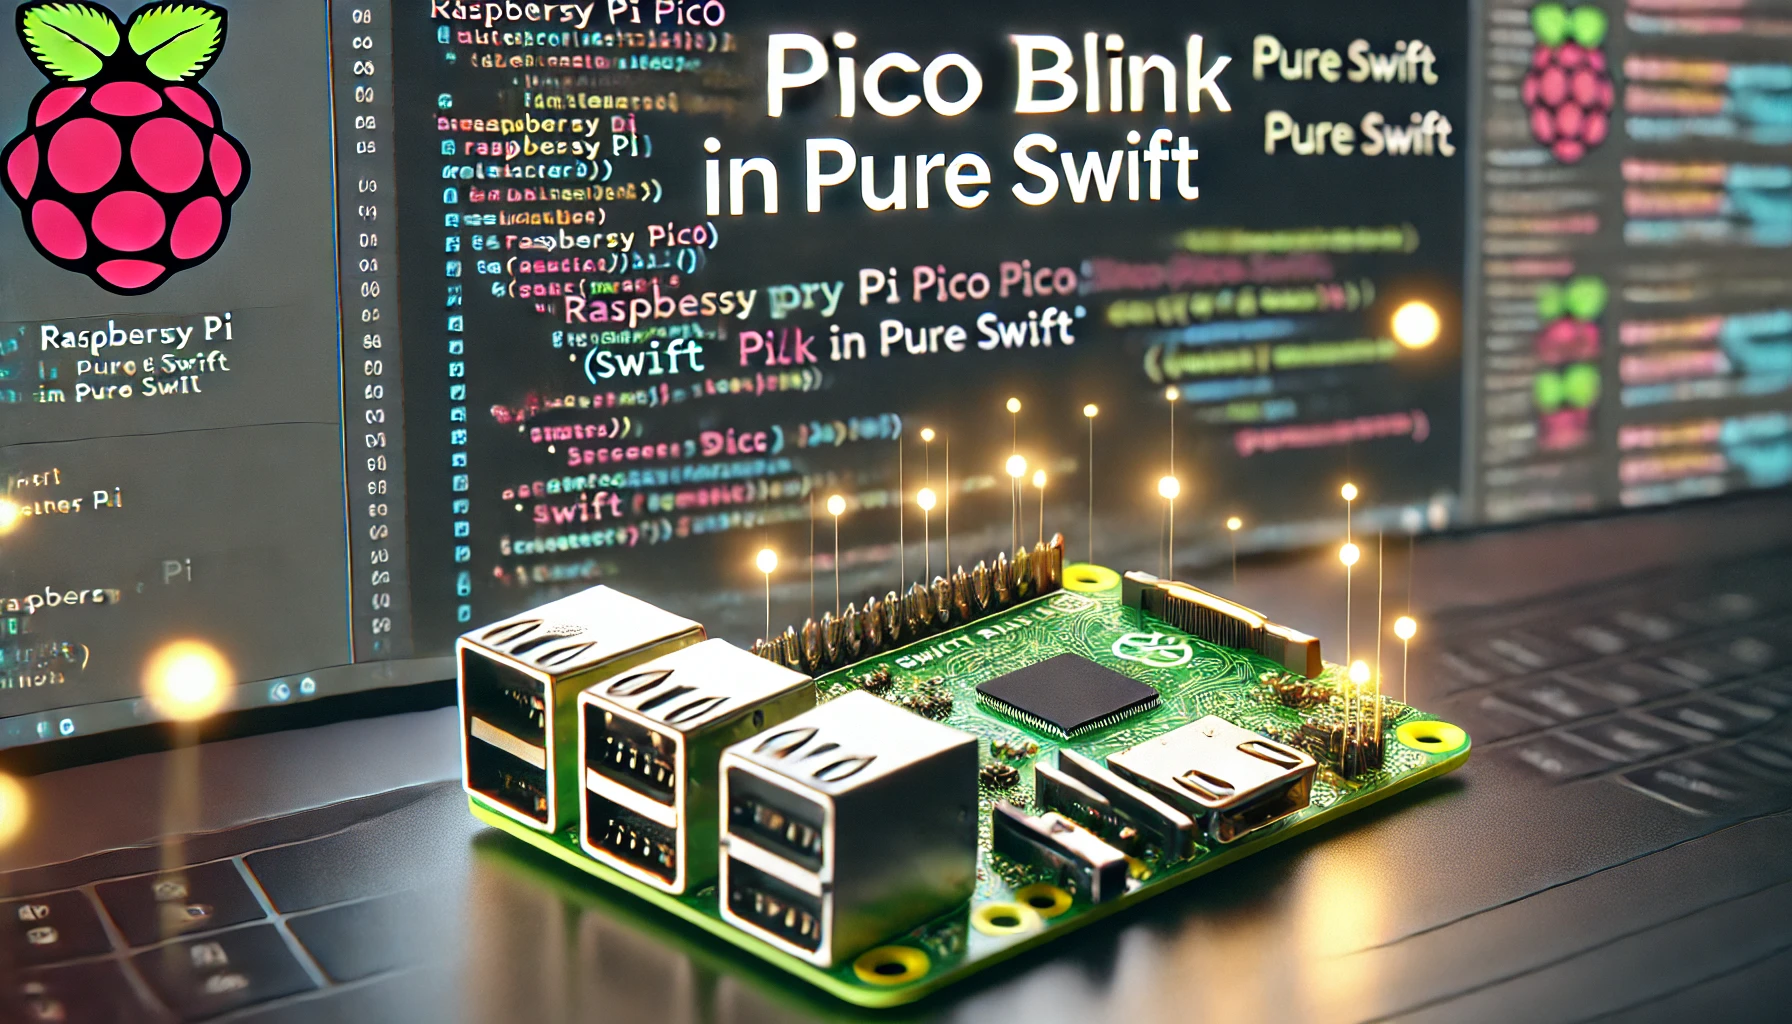
In the previous post, we learned how to use Swift embedded to build the blink example using a wrapper for the C++ library. In this post, we’ll learn how to compile and run the blink example written in Swift without using an external library. I suggest you read the previous post for the toolchain installation process.

Follow these steps:

$CLANG Sources/Support/libclang_rt.soft_static_armv6m_macho_embedded.a .build/release/Support.build/{Support.c,crt0.S}.o .build/release/Blinky.build/*.o -target armv6m-apple-none-macho -o $BUILDROOT/blinky $LD_FLAGS

To build:

TOOLCHAINS='<toolchain-name>' ./build.sh

On my mac i have as TOOLCHAINS:

export TOOLCHAINS=$(plutil -extract CFBundleIdentifier raw /Library/Developer/Toolchains/swift-DEVELOPMENT-SNAPSHOT-2024-06-13-a.xctoolchain/Info.plist)

After the build you can copy the .build/blink.uf2 in your raspberry.

If your mac doesn’t discover the raspberry, disconnect the usb cable, press the bootselect button and reconnect the usb cable.

Now if the example works, start to study the code.

Swift embedded and pico SDK

In this post we’ll learn how to:

  • Install Swift embedded
  • Install the pico-sdk
  • Run a simple blink

To install Swift embedded we need to download a nightly toolchain from here:

https://www.swift.org/download/#snapshots

We can’t use offciale release because the embedded feature is not ready for production.

After that we can clone the https://github.com/apple/swift-embedded-examples.git that contains the pico-blink-sdk

This example use the c library from the swift code to blink the led.

@main
struct Main {
  static func main() {
    let led = UInt32(PICO_DEFAULT_LED_PIN)
    gpio_init(led)
    gpio_set_dir(led, /*out*/true)
    while true {
      gpio_put(led, true)
      sleep_ms(250)
      gpio_put(led, false)
      sleep_ms(250)
    }
  }
}

Introduced in Swift 5.3, the @main attribute designates a particular type as the entry point for program execution.

To compile (how is written the the github page):

$ cd pico-blink-sdk
$ export TOOLCHAINS='<toolchain-name>'
$ export PICO_BOARD=pico
$ export PICO_SDK_PATH='<path-to-your-pico-sdk>'
$ export PICO_TOOLCHAIN_PATH='<path-to-the-arm-toolchain>'
$ cmake -B build -G Ninja .
$ cmake --build build

for the PICO_TOOLCHAIN_PATH i use:

export TOOLCHAINS=$(plutil -extract CFBundleIdentifier raw /Library/Developer/Toolchains/swift-DEVELOPMENT-SNAPSHOT-2024-06-13-a.xctoolchain/Info.plist)

For the PICO_SDK_PATH you can see the previous post. About the PICO_TOOLCHAIN_PATH you could skip.

After the build, you should have your first swift embedded program: swift.blinky.uf2.

Pico SDK on OSX

Before starting to use Swift to build embedded software, it is essential to install the native SDK for the Raspberry Pico so that we have a basic toolchain installed. In the next post, we’ll see how to use Swift.

In this post we’ll learn how to:

  • Install the Pico SDK
  • Run a native example

Install the Pico SDK

First step:

cd ~
mkdir pico
cd pico

Second step:

git clone -b master https://github.com/raspberrypi/pico-sdk.git

# Set the PICO_SDK_PATH environment variable to where you just cloned the repo.
export PICO_SDK_PATH=/path/to/pico-sdk

cd pico-sdk
git submodule update --init
cd ..
git clone -b master https://github.com/raspberrypi/pico-examples.git

Third step:

# Install cmake
brew install cmake

# Install the arm eabi toolchain
brew install --cask gcc-arm-embedded

xcode-select --install

Fourth step:

git clone https://github.com/pimoroni/pimoroni-pico.git
cd pimoroni-pico
git submodule update --init
mkdir build

Fifth step:

cd build
cmake ..
make

Run a tative example

Create a directory for the project, in this directory create this main.c

#include <stdio.h>
#include "pico/stdlib.h"

int main() {

    const uint led_pin = 25;

    // Initialize LED pin
    gpio_init(led_pin);
    gpio_set_dir(led_pin, GPIO_OUT);

    // Initialize chosen serial port
    stdio_init_all();

    // Loop forever
    while (true) {

        // Blink LED
        printf("Blinking!\r\n");
        gpio_put(led_pin, true);
        sleep_ms(1000);
        gpio_put(led_pin, false);
        sleep_ms(1000);
    }
}

Now the CMakeLists.txt

# Set minimum required version of CMake
cmake_minimum_required(VERSION 3.12)

# Include build functions from Pico SDK
include($ENV{PICO_SDK_PATH}/external/pico_sdk_import.cmake)

# Set name of project (as PROJECT_NAME) and C/C   standards
project(blink C CXX ASM)
set(CMAKE_C_STANDARD 11)
set(CMAKE_CXX_STANDARD 17)

# Creates a pico-sdk subdirectory in our project for the libraries
pico_sdk_init()

# Tell CMake where to find the executable source file
add_executable(${PROJECT_NAME}
    main.c
)

# Create map/bin/hex/uf2 files
pico_add_extra_outputs(${PROJECT_NAME})

# Link to pico_stdlib (gpio, time, etc. functions)
target_link_libraries(${PROJECT_NAME}
    pico_stdlib
)

# Enable usb output, disable uart output
pico_enable_stdio_usb(${PROJECT_NAME} 1)
pico_enable_stdio_uart(${PROJECT_NAME} 0)

To compile:

mkdir build
cd build
cmake ..
make

After that, we should have the file blink.uf2 in the build directory. Connect your Pico to the computer, open it like a pendrive, and copy the file. Reboot the Pico; it should now blink.

External source that i used for this post:

https://www.digikey.com/en/maker/projects/raspberry-pi-pico-and-rp2040-cc-part-1-blink-and-vs-code/7102fb8bca95452e9df6150f39ae8422

https://forums.raspberrypi.com/viewtopic.php?t=357243

https://github.com/pimoroni/pimoroni-pico/blob/main/setting-up-the-pico-sdk.md