
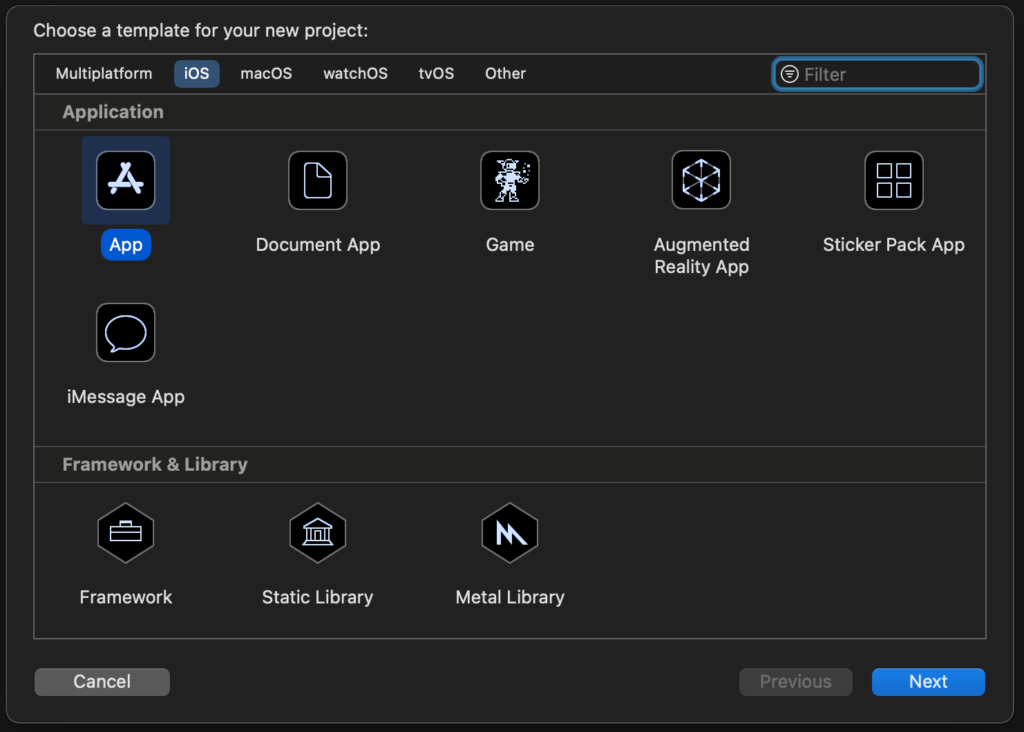
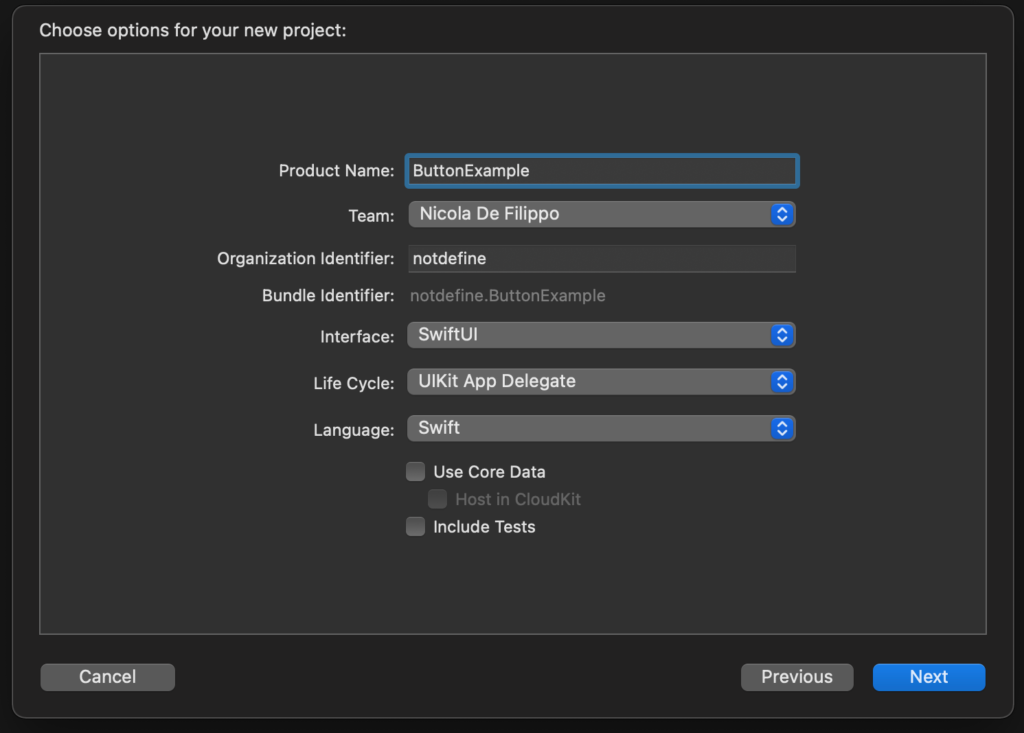
In 2019 Apple introduced the SwuifUI, a declarative language to develop the UI on Apple devices, in fact with this language is more simple to port an application from iPhone on the other devices type (AppleTV. iWatch, ..) and vice versa. Now in the Xcode, the default way to develop an application is to use SwuiftUI, instead is an optional use of UIKit (but it is not obsolete, in some case we need the uikit yet). Creating a new project we see the dialog to choose the project name and the Combobox to choose the toolkit.
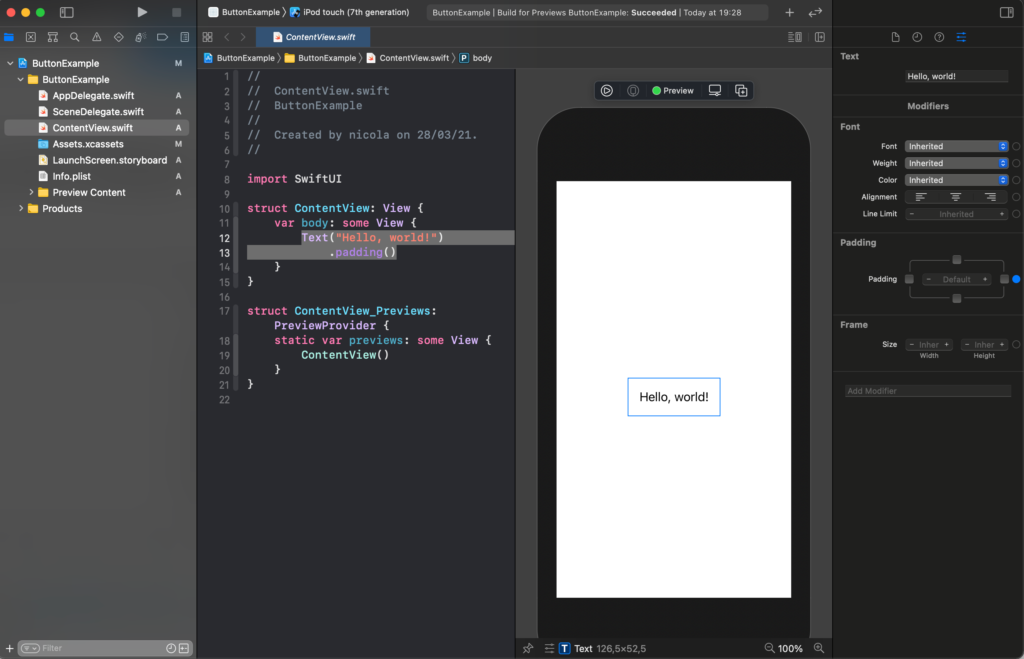
After creating the project we see on the left sidebar the list of the files, in the centre the code and the preview, instead of on the right the property of the selected object.
The main word that we always will see in the SwiftUI is “view”, it’s a protocol, to show an object we need to use its protocol (to default it permits to use of default methods to manage the property of the objects). Another interesting word is “some”. This word means: “opaque type”. I find this nice post that explains that https://medium.com/@PhiJay/whats-this-some-in-swiftui-34e2c126d4c4 I suggest you read it. If you don’t want to read the full post about it, the main phase is: “Adding this keyword turns the return type into an opaque type which means that you and the compiler both know that this function will always return only one particular concrete type — you’ll just never know which one!”
The default piece of the code for a new project is:
struct ContentView: View {
    var body: some View {
        Text("Hello, world!")
            .padding()
    }
}

struct ContentView_Previews: PreviewProvider {
    static var previews: some View {
        ContentView()
    }
}
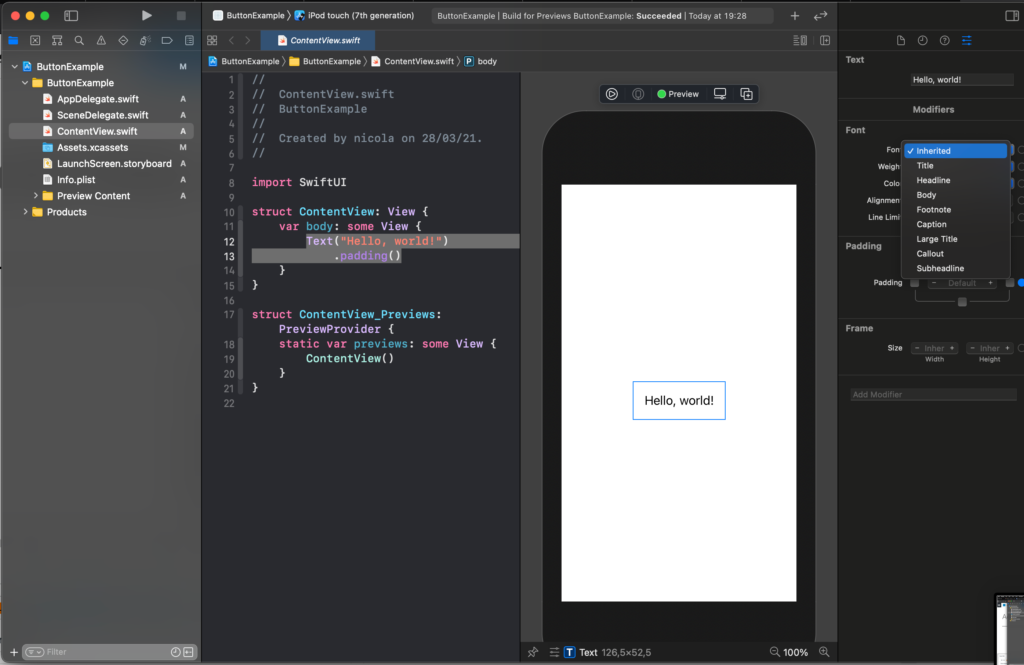
The result is the text “Hello world” printed in the centre of the screen.
The ContentView_Previews is used to show the view in the preview window. This window has also a play button, so you can interact with the graphical object (how in a simulator).
Text
Come back to the text “Hello World”. It’s centred because every object is centred to default in the centre of the view. The padding is not a property of the whole label, but it’s a property of the text in the Label, in fact, if we change in:
struct ContentView: View {
    var body: some View {
        Text("Hello, world!")
            .padding(.trailing, 20)
    }
}
you will see space after the exclamation mark.

Note that in the SwuiftUI world, trailing means right and leading meanings left. So try to change .trailing in .leading and see the effect.
It’s possible to change the font properties, using the default system font, for example title
struct ContentView: View {
    var body: some View {
        Text("Hello, world!")
            .padding()
            .font(.title)
    }
}
To exercise you can try to see the other default size.
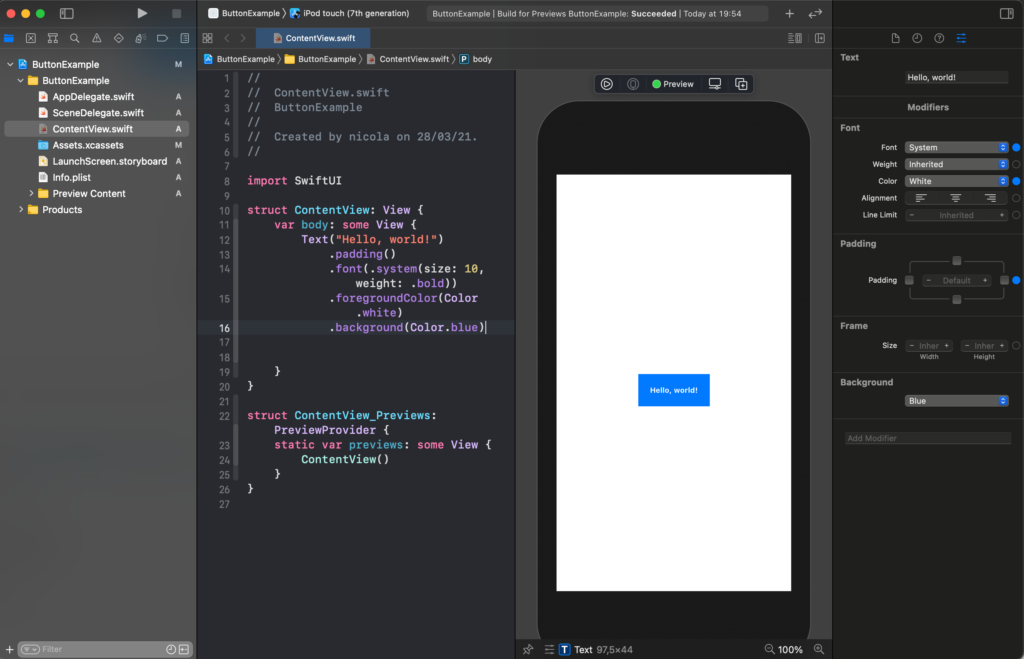
It’s possible also to use custom properties for, size, colour and so on.
struct ContentView: View {
    var body: some View {
        Text("Hello, world!")
            .padding()
            .font(.system(size: 10, weight: .bold))
            .foregroundColor(Color.white)
            .background(Color.blue)
    }
}
To use a custom family font
struct ContentView: View {
    var body: some View {
        Text("Hello, world!")
            .padding()
            .font(.custom("Courier", size: 10))
    }
}
A nice property is roudend, for the design.
struct ContentView: View {
    var body: some View {
        Text("Hello, world!")
            .fontWeight(.bold)
            .padding()
            .font(.system( .title, design: .rounded ))
    }
}
Note the order of the method, it’s not casual, the method is called in the order top to bottom, if you can try to invert, you can have errors or different output (try to move the padding at the end).
It’s possible to change the properties using the panel on the right (how in the picture) but I think is much helpful to see them directly in the code.
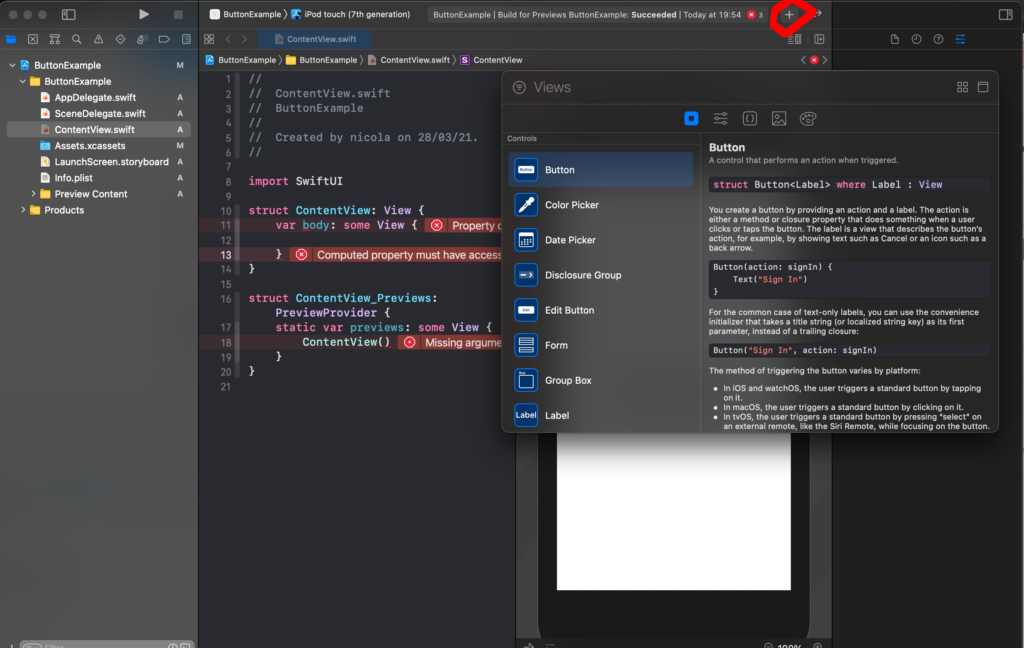
Buttons
Now see the Button, cancel the code about the Text. Click on the plus button as in the figure and drag the button in the code.
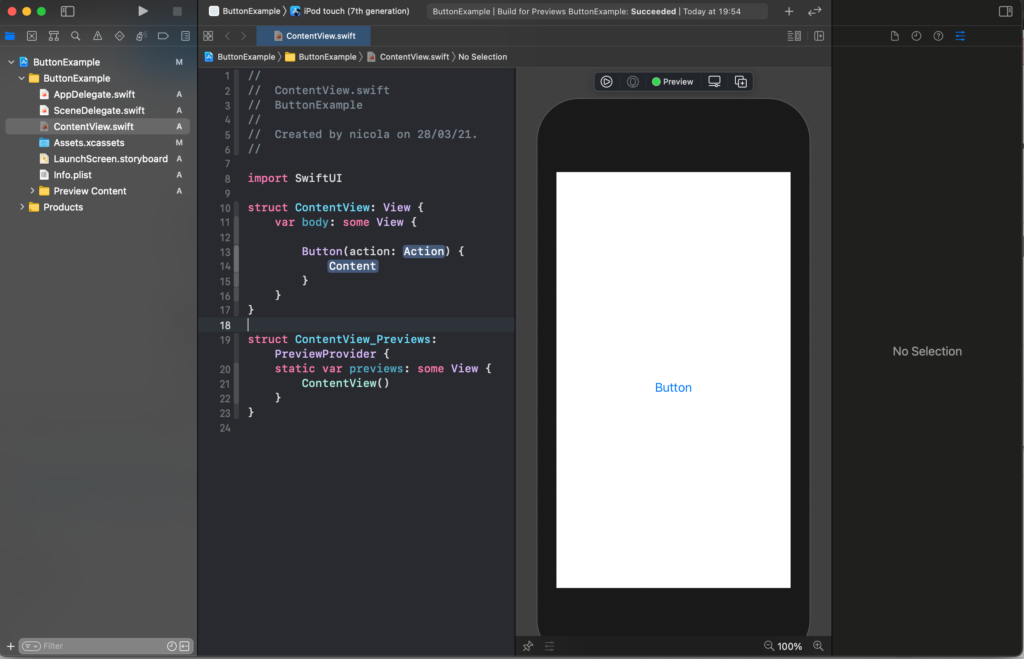
Now replace the Label and Action with our code
struct ContentView: View {
    var body: some View {

        Button(action: {}) {
            Text("Touch me")
        }
    }
}
For now, we replace the action label with empty code (no action) and the content with a Text object.
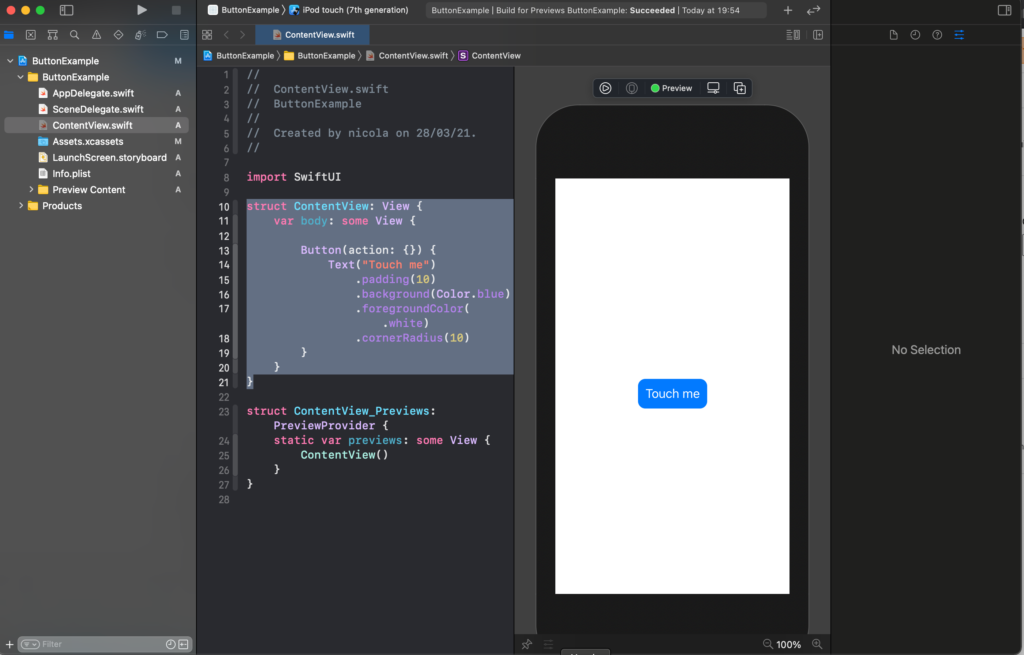
To modify the look of the button we have to change the content so in this case the Text object.
struct ContentView: View {
    var body: some View {

        Button(action: {}) {
            Text("Touch me")
                .padding(10)
                .background(Color.blue)
                .foregroundColor(.white)
                .cornerRadius(10)
        }
    }
}
To have this button:
We can also use the system image (please download the San Francisco symbols from https://developer.apple.com/sf-symbols/)
struct ContentView: View {
    var body: some View {
        Button(action: {

        }) {
            Image(systemName: "cart")
                .foregroundColor(.purple)
                .font(.title)
        }
    }
}
To have:
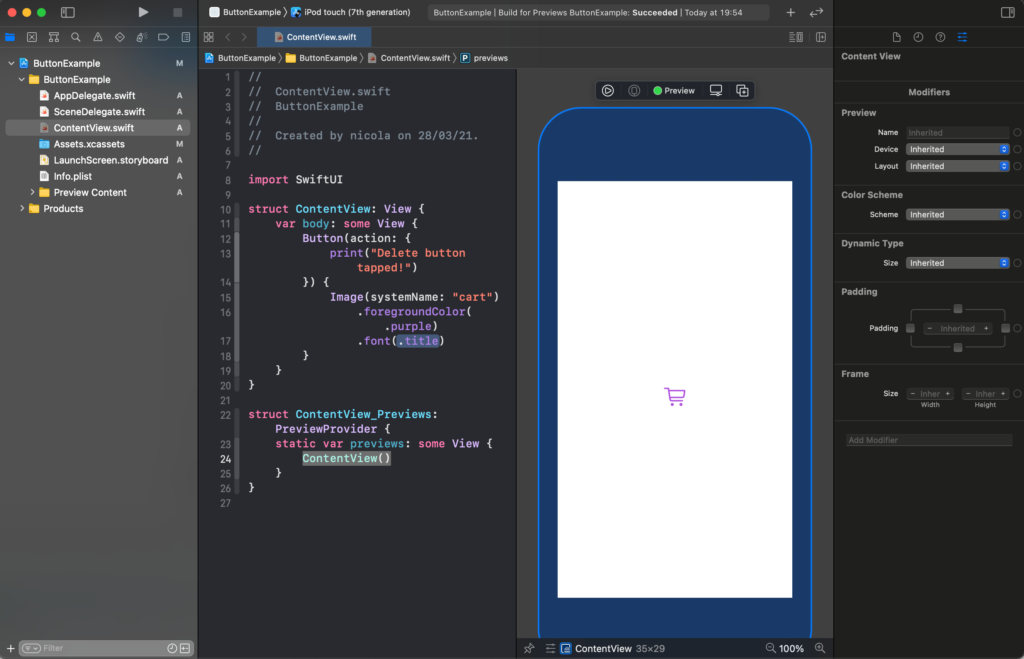
We applied the font properties to the system image.
For this week that’s all. In the next post, I’ll show how to have a nice effect on the button and how to interact with them.
Note: English is not my native language, so I’m sorry for some errors. I appreciate it if your correct me.
2 thoughts on “Text And Button with SwuiftUI”