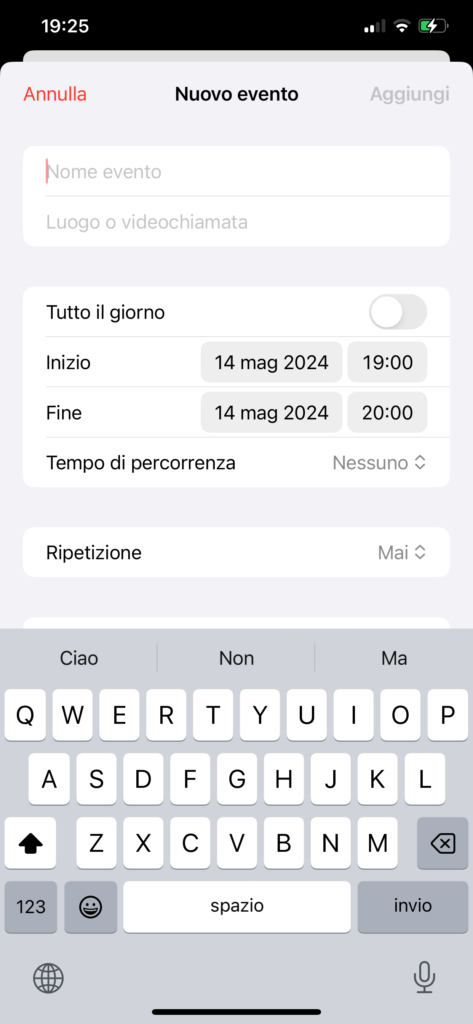
In this post, we learn how to use the default view to add an event to the calendar without creating a new one, if we don’t need a customized view. I mean this (sorry, today I’m lazy and don’t want to change my phone’s language to English).
I advise you to take a look at the first post of this series to understand the fundamentals (I won’t repeat them here).
The first step is to create a controller for the view:
class EventUIController: UIViewController, EKEventEditViewDelegate {
    let eventStore = EKEventStore()

    func eventEditViewController(_ controller: EKEventEditViewController, didCompleteWith action: EKEventEditViewAction) {
        controller.dismiss(animated: true, completion: nil)
        parent?.dismiss(animated: true, completion: nil)
    }

    override func viewDidLoad() {
        super.viewDidLoad()
        Task {
            let response = try await self.eventStore.requestFullAccessToEvents()
            if response {
                let eventController = EKEventEditViewController()
                eventController.eventStore = self.eventStore
                eventController.editViewDelegate = self
                eventController.modalPresentationStyle = .overCurrentContext
                eventController.modalTransitionStyle = .crossDissolve
                self.present(eventController, animated: true, completion: nil)
            }
        }
    }
}
In the viewDidLoad method, we check for authorizations, and if everything is okay, we create the controller, assign the eventStore, set the delegate to itself, and finally, the view is displayed. Note that in this function, we use Task to allow the call of an async action. In another function, eventEditViewController, the dismiss action is managed.
To allow this controller to be used in SwiftUI, we need to have a UIViewControllerRepresentable:
struct EventRepresentable: UIViewControllerRepresentable {
    func makeUIViewController(context: Context) -> EventUIController {
        return EventUIController()
    }

    func updateUIViewController(_ uiViewController: EventUIController, context: Context) {
        // Only to be conform to the protocol
    }
}
Now we can call it from SwiftUI.
struct ContentView: View {
@State var eventsManager = EventStoreManager()
@State var isPresented = false
var body: some View {
NavigationStack {
VStack {
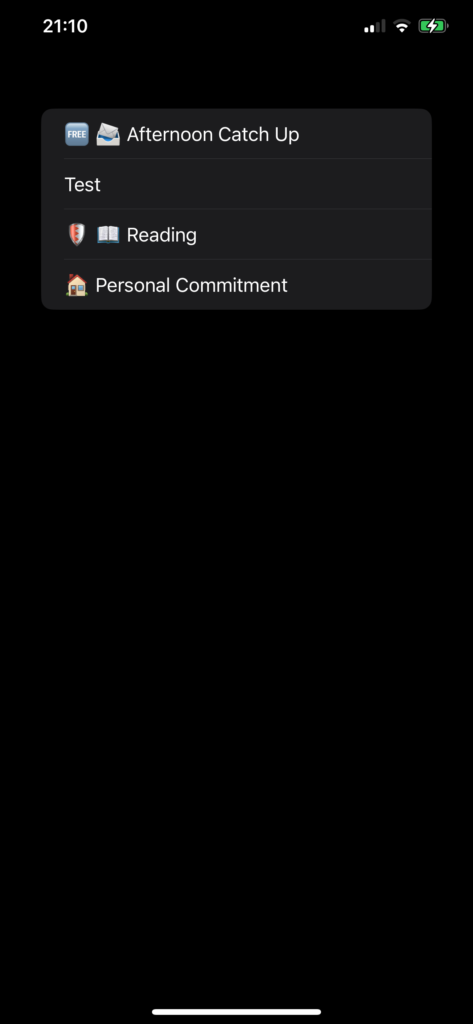
List(eventsManager.events, id:\.self) { event in
Text(event.title)
}
}
.padding()
.toolbar(content: {
ToolbarItem(placement: .confirmationAction) {
Button("+") {
isPresented = true
}.font(.largeTitle)
}
})
.sheet(isPresented: $isPresented, content: {
EventRepresentable()
})
}.onAppear {
Task {
await loadEvents()
}
}.onChange(of: isPresented) {
if !isPresented {
Task {
await loadEvents()
}
}
}
}
func loadEvents() async {
do {
try await eventsManager.setEventDate(date: Date())
} catch {
print("Error")
}
}
}
The code is 99% similar to that of the previous post; the only thing that changes is that now the sheet presents the default view instead of our custom view.
With this post, this series is complete (at least for now). Always remember to add permissions in the info.plist. Lastly, if you want to get the list of calendars in the calendar application, simply call the calendars function of the eventStore (this is necessary if you want to add an event to a particular calendar).
The code https://github.com/niqt/CalendarAppExample/tree/defaultEventView
To subscribe to my newsletter [https://nicoladefilippo.com/#mailinglist]
Note: English is not my native language, so I apologize for any errors. I use AI solely to generate the banner of the post; the content is human-generated.