In this last episode about SwiftData, we’ll learn:
- How to modify saved data
- How to execute a simple query
- How to execute a dynamic query
Before we start, I advise you to review the previous episodes (https://nicoladefilippo.com/swiftdata-tutorial-episode-i/ https://nicoladefilippo.com/swiftdata-tutorial-episode-ii/).
Edit data
First of all, we will create the view to edit a ProjectItem:
import SwiftUI
import SwiftData

struct EditProjectView: View {
    @Environment(\.modelContext) private var modelContext
    @Environment(\.dismiss) private var dismiss
    @Binding var project: ProjectItem?
    var edit = false

    var body: some View {
        VStack {
            Text(edit ? "Edit": "Create")
            TextField("Project name", text: Binding(
                get: { project?.name ?? "" },
                set: { newValue in project?.name = newValue }
            ))
            Button("Save") {
                if !edit {
                    modelContext.insert(project!)
                }
                try? modelContext.save()
                dismiss()
            }
        }
    }
}

#Preview {
    @State var dum: ProjectItem?
    return EditProjectView(project: $dum)
}
A part from the variable used to dismiss the sheet (considering that this view is displayed in a sheet), this view receives a project variable and an edit variable. If the edit variable is true, it means we are editing an existing item; otherwise, we are creating a new one. Considering this, change the save action to only save if it’s an edit; otherwise, also perform an insert.
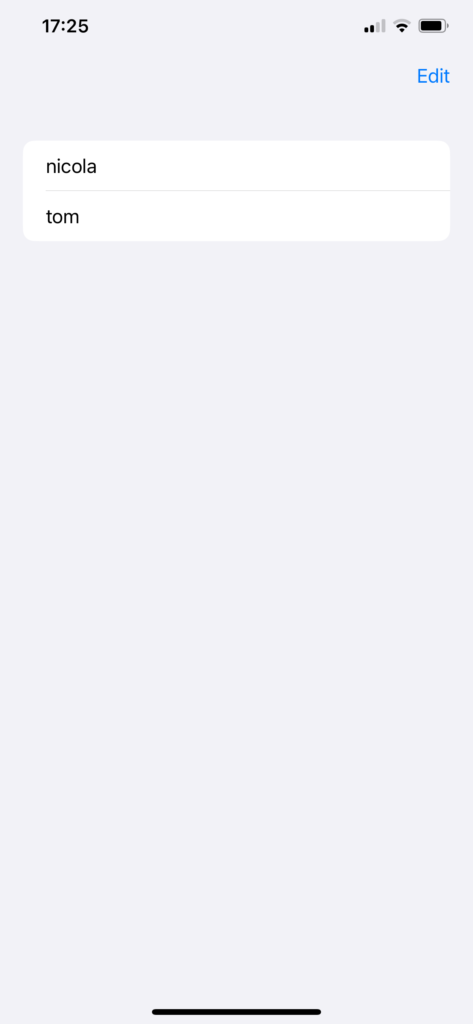
The projectsView is now changed in this way:
struct ProjectsView: View {
@Environment(\.modelContext) private var modelContext
@Query private var projects: [ProjectItem]
@State var isPresented = false
@State var projectSelected: ProjectItem?
@State var edit = false
var body: some View {
NavigationStack {
List {
ForEach(projects) { project in
HStack() {
Text(project.name)
Spacer()
}
.contentShape(Rectangle())
.onTapGesture {
projectSelected = project
edit = true
isPresented = true
}
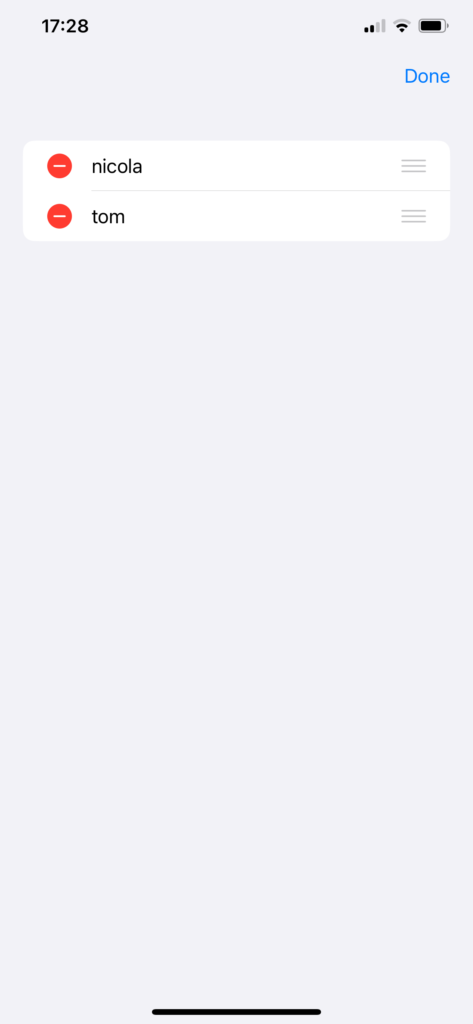
}.onDelete(perform: deleteProject)
}
.toolbar {
ToolbarItem(placement: .navigationBarTrailing) {
EditButton()
}
ToolbarItem {
Button(action: {
projectSelected = ProjectItem(name: "")
edit = false
isPresented = true
}) {
Label("Add Project", systemImage: "plus")
}
}
}
.sheet(isPresented: $isPresented) {
EditProjectView(project: $projectSelected, edit: edit)
}
}
}
private func deleteProject(offsets: IndexSet) {
withAnimation {
for index in offsets {
modelContext.delete(projects[index])
}
}
}
}
So, if we tap on an existing project name, we’ll edit the selected project. Instead, if we tap on “Add,” a new project will be created and the edit view will be displayed in creation mode.
Simple query
Now, suppose that we want to display only the Pomodoros associated with the project named “test project”:
import SwiftUI
import SwiftData

struct PomodoriView: View {
    @Environment(\.modelContext) private var modelContext
    @Query(filter: #Predicate<PomodoroItem> { pomodoro in
        pomodoro.project.name == "test project"
    }) var pomodori: [PomodoroItem]
    @State var isPresented = false

    var body: some View {
        NavigationStack {
            List {
                ForEach(pomodori) { pomodoro in
                    Text(pomodoro.name)
                }.onDelete(perform: deletePomodoro)
            }
            .toolbar {
                ToolbarItem(placement: .navigationBarTrailing) {
                    EditButton()
                }
                ToolbarItem {
                    Button(action: {isPresented = true}) {
                        Label("Add Pomodoro", systemImage: "plus")
                    }
                }
            }.sheet(isPresented: $isPresented, content: {
                PomodoroView()
            })
        }
    }
    private func deletePomodoro(offsets: IndexSet) {
        withAnimation {
            for index in offsets {
                modelContext.delete(pomodori[index])
            }
        }
    }
}
The query is:
@Query(filter: #Predicate<PomodoroItem> { pomodoro in
        pomodoro.project.name == "test project"
    }) var pomodori: [PomodoroItem]
Simple, and we can also add more conditions, but statically. While this might be straightforward, it’s not always helpful. It’s better to have a dynamic query.
Dynamic Query
We have to create a view for the list, with the initializer where we execute the query:
struct ListFilteredView: View {
    @Environment(\.modelContext) private var modelContext
    @Query var pomodori: [PomodoroItem]
    var searchString = ""

    init(sort: SortDescriptor<PomodoroItem>, searchString: String) {
        _pomodori = Query(filter: #Predicate {
            if searchString.isEmpty {
                return true
            } else {
                return $0.project.name.contains(searchString)
            }
        }, sort: [sort])
    }
    var body: some View {
        List {
            ForEach(pomodori) { pomodoro in
                Text(pomodoro.name)
            }
        }
    }
}
So i nthe init the quesry is filtered. Note that we call pomodori with _pomodori, the backup property of the @Query.
The PomodoriView changes in this way:
struct PomodoriView: View {
    @Environment(\.modelContext) private var modelContext
    @Query var pomodori: [PomodoroItem]
    @State var searchString = ""

    var body: some View {
        NavigationStack {
            ListFilteredView(sort: SortDescriptor(\PomodoroItem.project.name), searchString: searchString)
            .searchable(text: $searchString)
        }
    }
    private func deletePomodoro(offsets: IndexSet) {
        withAnimation {
            for index in offsets {
                modelContext.delete(pomodori[index])
            }
        }
    }
}
Note that apart from passing the search string, we also pass the sort option, in this case sorting by the project name associated with the Pomodoro.
Note: English is not my native language, so I apologize for any errors. I use AI solely to generate the banner of the post; the content is human-generated.