
This post is the first in a series about using Maps in SwiftUI. In this post, we’ll learn how to:
- Create a Map
- Show the user’s position
- Add a circle centered on the user’s position
Map Creation
First, we need to add values in the info.plist for:
- Privacy – Location Always Usage Description
- Privacy – Location When In Use Usage Description
Now, let’s take a look at the code:
import SwiftUI
import MapKit

struct ContentView: View {
    @State var position: MapCameraPosition = .region(MKCoordinateRegion(
        center: .init(latitude: 47.499167,longitude: 8.726667),
        span: .init(latitudeDelta: 0.2, longitudeDelta: 0.2)
    ))

    var body: some View {
        ZStack{
            Map(position: $position)
            .ignoresSafeArea(.all)
        }
    }
}
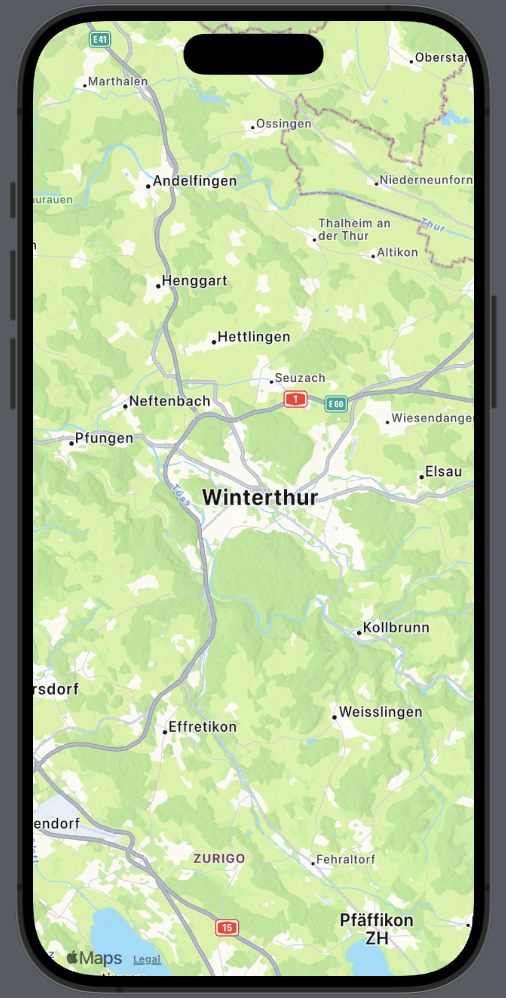
To use the map, we need to import MapKit, then define a position such as MapCameraPosition (with iOS 17, the direct use of the region is deprecated). The span represents the amount of map to display (think of it as zoom). (I used the coordinates of Winterthur in memory of Niklaus Wirth, who passed away a few days ago). The map is displayed in fullscreen mode because it ignores the safe area.
Show User Position
Now, take a look at how to create a map centered on the user’s position:
struct ContentView: View {
    let locationManager = CLLocationManager()

    @State var position: MapCameraPosition = .userLocation(fallback: .automatic)

    var body: some View {
        ZStack{
            Map(position: $position) {
                UserAnnotation()
            }
            .ignoresSafeArea(.all)           .onAppear{self.locationManager.requestWhenInUseAuthorization()
            }
        }
    }
}
First, we define a locationManager; it’s necessary to access the user’s position. When the map appears, it will request the user’s permission.
In this case, ‘position’ contains the user’s location (the fallback is a position to use if the map hasn’t resolved the person’s location).
Add a circle around the user position
struct ContentView: View {
    let locationManager = CLLocationManager()
    @State var distance: CLLocationDistance = 500.0
    @State var defaultLocation: CLLocationCoordinate2D = CLLocationCoordinate2D(latitude: 0.0, longitude: 0.0)

    @State var position: MapCameraPosition = .userLocation(fallback: .automatic)

    var body: some View {
        ZStack{
            Map(position: $position) {
                MapCircle(center:  locationManager.location?.coordinate ?? defaultLocation, radius: distance)
                    .foregroundStyle(Color(white: 0.4, opacity: 0.25))
                    .stroke(.orange, lineWidth: 2)
                UserAnnotation()
            }
            .ignoresSafeArea(.all)
            .onAppear{self.locationManager.requestWhenInUseAuthorization()
            }
        }
    }
}
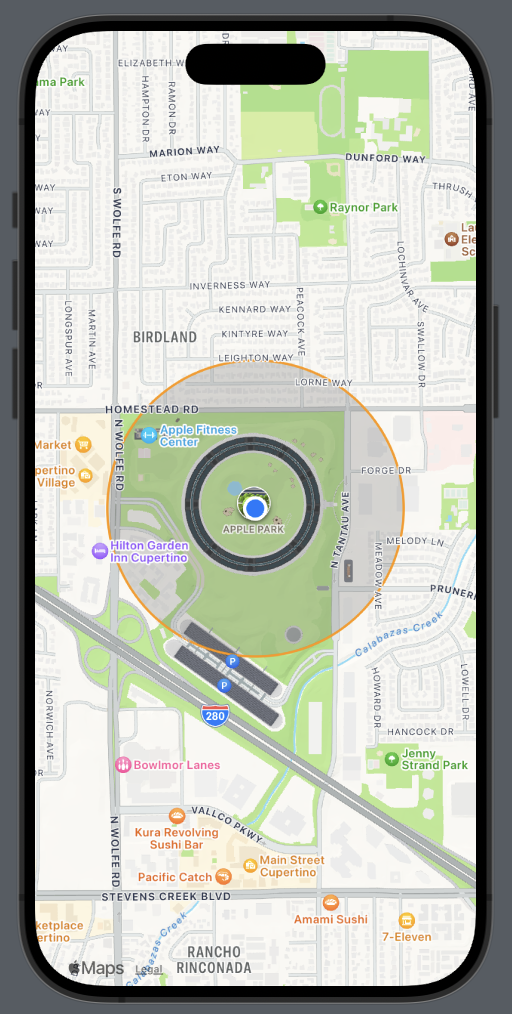
Here we’ve added a distance (in meters) that we use as the radius for the MapCircle. The MapCircle is centered using the coordinates of the user, obtained through the locationManager. In the image, you’ll also see a black circle; that’s Apple Park.
That’s all for this episode.