If your app needs to display images that are hosted on a server, this post is for you. It’s a common scenario where images aren’t downloaded or are not present in the application’s assets. Another common issue is displaying a progress indicator until the image is fully displayed. AsyncImage is the solution to all these requests.
IIn this post, I use as a starting point the code discussed in a previous post (https://nicoladefilippo.com/pull-refresh-in-swiftui/), where we loaded a list of beer names. Now, we will also add images. Here is the code:
struct Beer: Codable, Identifiable {
var id: Int
var name: String
}
struct ContentView: View {
@State var beers: [Beer] = []
@State var page = 0
var body: some View {
NavigationStack {
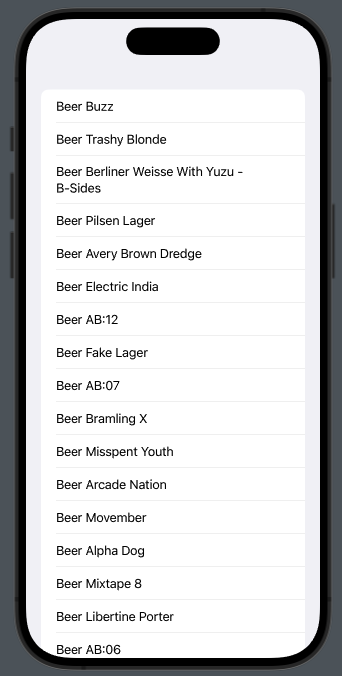
List(beers) { beer in
Text(beer.name)
}.refreshable {
await getBeers()
}
}.onAppear {
Task {
await getBeers()
}
}
}
func getBeers() async {
do {
page += 1
let url = URL(string: "https://api.punkapi.com/v2/beers?page=\(page)&per_page=30")!
let (data, _) = try await URLSession.shared.data(from: url)
let beersDownloaded = try JSONDecoder().decode([Beer].self, from: data)
beers = beersDownloaded + beers
} catch {
print("Error")
}
}
}
To make improvements, first, add the image field to the Beer struct:
struct Beer: Codable, Identifiable {
    var id: Int
    var name: String
    var image_url: String
}
Now that we have the information, let’s take a look at how to display it:
AsyncImage(url: URL(string: beer.image_url)) { image in
         image.resizable().scaledToFit()
     } placeholder: {
         ProgressView()
     }.frame(width: 50, height: 50)
So, AsyncImage takes a URL, and until the image is displayed, a ProgressView is shown. Once the image becomes available, it’s resized proportionally to fit the size of the frame.
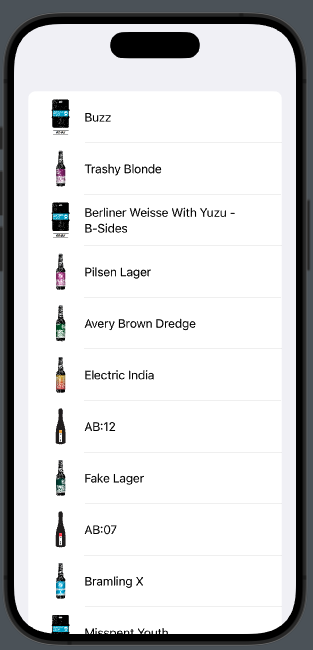
Now, let’s proceed with a list written in the following manner:
List(beers) { beer in
                HStack {
                    AsyncImage(url: URL(string: beer.image_url)) { image in
                        image.resizable().scaledToFit()
                    } placeholder: {
                        ProgressView()
                    }.frame(width: 50, height: 50)
                    Text(beer.name)
                }
            }
We have: