Summer reflection

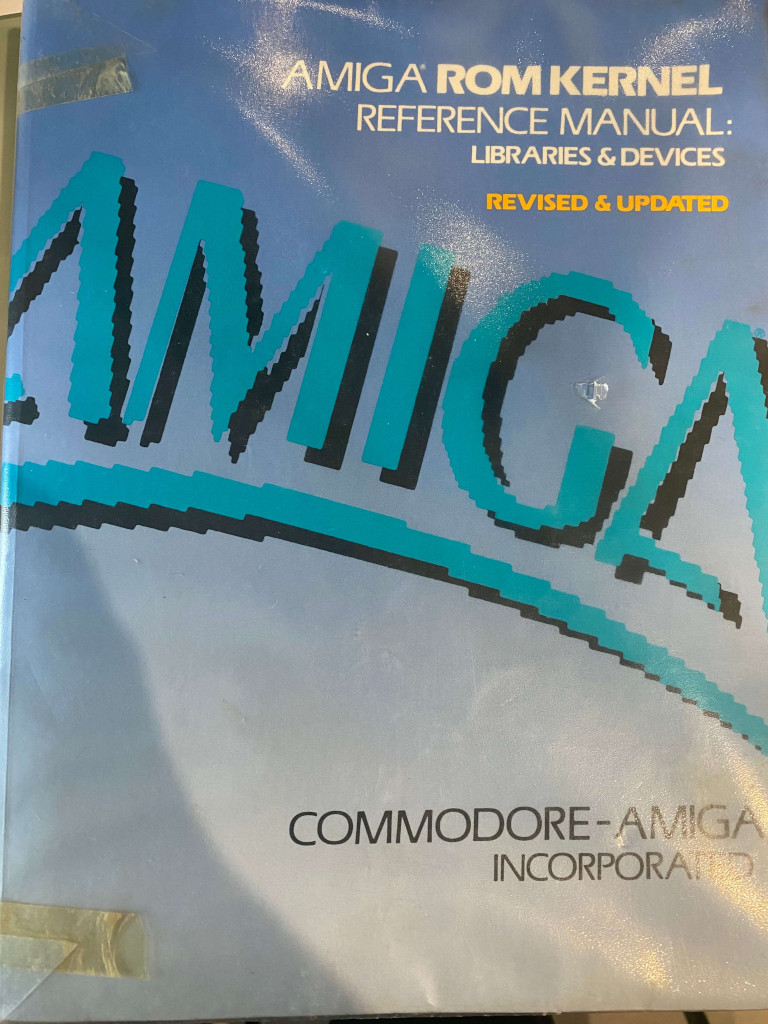
Which book reminds you of summer? For me, it’s the one below, and I’ll tell you why. It was the summer of 1991. My uncle, who was on vacation, had left me the keys to his house, so I went there to study and acted as a caretaker. I brought along books on algebra and geometry (matrices, vector spaces, monads, etc.) and the RKM (Amiga Rom Kernel Manual)in the photo. Until 6 PM, I studied algebra, and then I read the RKM. I followed my grandmother’s advice: duty first, then pleasure (sorry, Professor Konderac, but the RKM gave me more pleasure).

Over the years, I’ve realized I often buy books by so-called gurus on how to organize life and be productive. On LinkedIn and Twitter, posts by these super personalities appear, but if I think about it, it’s all already been written or said. The monks’ “ora et labora” is today’s “start the day with meditation”; “eat the frog first” is my grandmother’s way of saying “duty first.” Regarding persistence, we can remember some of Jesus Christ’s words, but surely there is something similar in other religions or philosophies. Why do we need to hear or read the same things in a different form? Have we lost our memories? Maybe these hot nights are getting to me.

Exploring Fyne: A Modern Cross-Platform Tool for Golang Developers

I don’t know if you’ve ever heard about Fyne (https://fyne.io/), the Golang cross-platform tool. I spent some hours trying it out. It runs on Windows, Linux, Darwin, Android, and iOS. The comparison with other cross-platform tools is inevitable, but it can also be unfair considering the age of the tool. With it, we can build very good desktop applications; more or less, we have all the fundamental GUI objects for a desktop application, and if you don’t need a Hollywood-style graphic, it’s good.

About the mobile situation, it’s a bit different. Mobile applications (apart from games) should conform to native guidelines, which is a bit hard with Fyne since it follows Material Design. What I’m saying is not a dismissal, but my advice is to use it if you need basic (or industrial) applications, where a nice user interface is less important than usual.

What’s my suggestion about it? If you need to build a desktop application (or mobile without a native look and feel), you already know Go, and you don’t want to spend time on other languages, then go for it. If you don’t like something, you can always contribute to the project—actions speak louder than words.

Note: English is not my native language, so I apologize for any errors. I use AI solely to generate the banner of the post; the content is human-generated.

Implementing Temporary Row Highlighting how in iOS Settings with SwiftUI

If you are an iOS user and have ever tried to search for a feature in the settings by typing the name in the search bar, you might have noticed that when you jump to the page with the found feature, the row with the feature is highlighted for a few seconds. In this post, I’ll show a possible implementation for that.

First we create a page with a simple navigation link to jump to the page that contains the feature (in our case VPN).

struct ContentView: View {
    var body: some View {
        NavigationStack {
            NavigationLink("Settings", destination: ListWithHighlightView(search: "VPN"))
        }
    }
}

Then define the struct option, with simple an id, name, and hi (it’s true if need to be higligthed).

struct Option: Identifiable {
    var id = UUID()
    var hi = false
    var name = ""
}

In the View we create a simple array with some options, show the list of options. When the list is displayed (the onAppear), simply check the name of the item to higlight, if it found, we higlight, than calling in the task a timer for one second, we remove the highligting.

struct ListWithHighlightView: View {
    @State var options = [Option(name: "Wi-fi"), Option( name:"VPN"), Option(name: "Sound")]
    @State var search = ""
    var body: some View {
        VStack {
            List {
                ForEach(0..<options.count) { index in
                    Text(options[index].name)
                    .listRowBackground(Color(options[index].hi ? UIColor.systemFill : UIColor.systemBackground))
                    .onAppear {
                        if search == options[index].name {
                            options[index].hi = true
                            Task {
                                try await Task.sleep(nanoseconds: 1_000_000_000)
                                options[index].hi = false
                            }
                        }
                    }
                }
            }
        }
    }
}

The listRowBackground define the background of the row, that in this case contains only a text.

Note: English is not my native language, so I apologize for any errors. I use AI solely to generate the banner of the post; the content is human-generated.

Pico blink in pure Swift

In the previous post, we learned how to use Swift embedded to build the blink example using a wrapper for the C++ library. In this post, we’ll learn how to compile and run the blink example written in Swift without using an external library. I suggest you read the previous post for the toolchain installation process.

Follow these steps:

$CLANG Sources/Support/libclang_rt.soft_static_armv6m_macho_embedded.a .build/release/Support.build/{Support.c,crt0.S}.o .build/release/Blinky.build/*.o -target armv6m-apple-none-macho -o $BUILDROOT/blinky $LD_FLAGS

To build:

TOOLCHAINS='<toolchain-name>' ./build.sh

On my mac i have as TOOLCHAINS:

export TOOLCHAINS=$(plutil -extract CFBundleIdentifier raw /Library/Developer/Toolchains/swift-DEVELOPMENT-SNAPSHOT-2024-06-13-a.xctoolchain/Info.plist)

After the build you can copy the .build/blink.uf2 in your raspberry.

If your mac doesn’t discover the raspberry, disconnect the usb cable, press the bootselect button and reconnect the usb cable.

Now if the example works, start to study the code.

Swift embedded and pico SDK

In this post we’ll learn how to:

  • Install Swift embedded
  • Install the pico-sdk
  • Run a simple blink

To install Swift embedded we need to download a nightly toolchain from here:

https://www.swift.org/download/#snapshots

We can’t use offciale release because the embedded feature is not ready for production.

After that we can clone the https://github.com/apple/swift-embedded-examples.git that contains the pico-blink-sdk

This example use the c library from the swift code to blink the led.

@main
struct Main {
  static func main() {
    let led = UInt32(PICO_DEFAULT_LED_PIN)
    gpio_init(led)
    gpio_set_dir(led, /*out*/true)
    while true {
      gpio_put(led, true)
      sleep_ms(250)
      gpio_put(led, false)
      sleep_ms(250)
    }
  }
}

Introduced in Swift 5.3, the @main attribute designates a particular type as the entry point for program execution.

To compile (how is written the the github page):

$ cd pico-blink-sdk
$ export TOOLCHAINS='<toolchain-name>'
$ export PICO_BOARD=pico
$ export PICO_SDK_PATH='<path-to-your-pico-sdk>'
$ export PICO_TOOLCHAIN_PATH='<path-to-the-arm-toolchain>'
$ cmake -B build -G Ninja .
$ cmake --build build

for the PICO_TOOLCHAIN_PATH i use:

export TOOLCHAINS=$(plutil -extract CFBundleIdentifier raw /Library/Developer/Toolchains/swift-DEVELOPMENT-SNAPSHOT-2024-06-13-a.xctoolchain/Info.plist)

For the PICO_SDK_PATH you can see the previous post. About the PICO_TOOLCHAIN_PATH you could skip.

After the build, you should have your first swift embedded program: swift.blinky.uf2.