
In this post we’ll learn how to:
- Create a shape with stroke
- Create a dashed stroke
- Create a dashed line
Create a shape with stroke
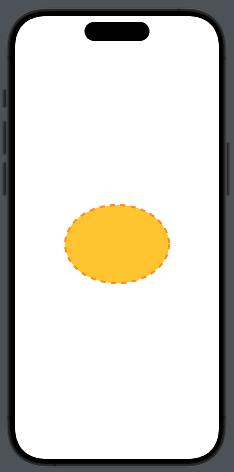
Begin by creating a yellow ellipse with an orange border:
struct ContentView: View {
    var body: some View {
        VStack {
            Ellipse()
                .stroke(style: StrokeStyle(lineWidth: 4))
                .foregroundStyle(.orange)
                .background(Ellipse().fill(.yellow))
                .frame(width: 200, height: 150)
        }
    }
}
We start by creating an ellipse, then add a border with a lineWidth of four. Next, set the color for the stroke, followed by adding a yellow ellipse as the background. Finally, set the dimensions for the entire shape.

We can have the same result with this code:
VStack {
            Ellipse()
                .strokeBorder(.orange, lineWidth: 4)
                .background(Ellipse().fill(.yellow))
                .frame(width: 200, height: 150)
        }
Create a stroke dashed
So, why do we need the StrokeStyle? It’s used to create a dashed stroke:
The code:
Ellipse()
                .stroke(style: StrokeStyle(lineWidth: 4, dash: [10]))
                .foregroundStyle(.orange)
                .background(Ellipse().fill(.yellow))
                .frame(width: 200, height: 150)
We can observe a new parameter, dash. It’s an array that contains the sizes of the dashes and spaces. For example, with dash[10, 2], we get:

We can achieve the same result as in the first example by overlapping the ellipse using a ZStack:
ZStack {
                Ellipse()
                    .strokeBorder(.red, lineWidth: 2)
                    .frame(width: 200, height: 150)
                Ellipse()
                    .foregroundStyle(.yellow)
                    .padding(2)
                    .frame(width: 200, height: 150)
            }
In this case, the second ellipse has padding equal to the lineWidth of the first one.
Create a line (dashed)
In SwiftUI, a Line shape doesn’t exist natively, so we have to create it using the Shape protocol:
struct Line: Shape {
    var y2: CGFloat = 0.0
    func path(in rect: CGRect) -> Path {
        var path = Path()
        path.move(to: CGPoint(x: 0, y: 0))
        path.addLine(to: CGPoint(x: rect.width, y: y2))
        return path
    }
}
The line is drawn inside a virtual rectangle; by default, it is horizontal. However, if we pass a value for y2, we get an inclined line.
struct ContentView: View {
    var body: some View {
        HStack {
            Spacer(minLength: 20)
            Line()
                   .stroke(style: StrokeStyle(lineWidth: 1, dash: [5]))
                   .foregroundStyle(.orange)
                   .frame(height: 1)
            Spacer(minLength: 10)
        }
    }
}

That’all for this post.