
In this post, we learn how to use sheets in SwiftUI. We will cover:
- Open and close a not full screen sheet
- Open and close a full screen sheet
In this example i use this image unsplash
Creating a Non-Full-Screen Sheet
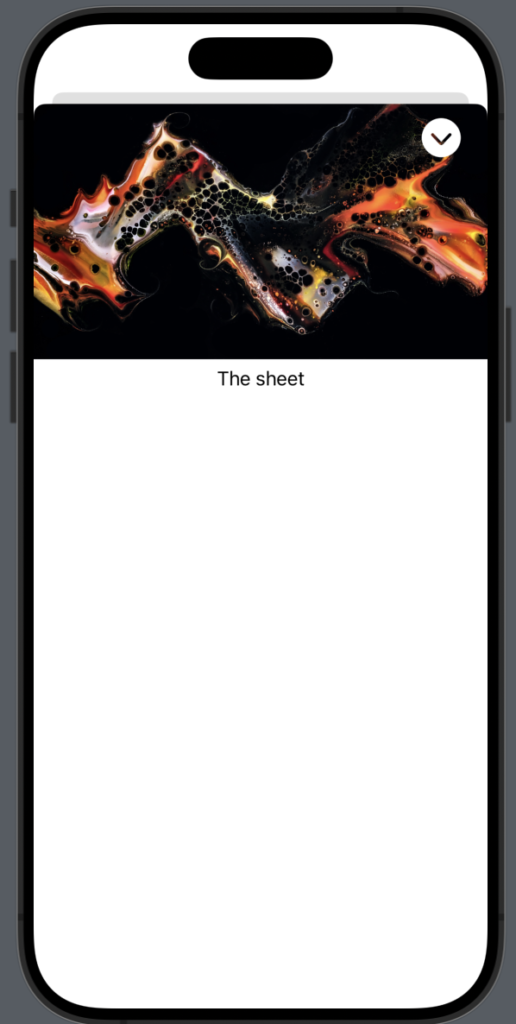
Begin by creating the project and adding the image to the assets. I’ve renamed it susan.
struct ContentView: View {
    @State var isPresented = false
    var body: some View {
        NavigationStack {
            Text("Sheet")
                .toolbar {
                    ToolbarItem(placement: .confirmationAction) {
                        Button("+") {
                            isPresented = true
                        }.font(.largeTitle)
                    }
                }
        }
        .sheet(isPresented: $isPresented, content: {
            SheetUIView()
        })
    }
}
First, we add a ‘plus’ button to the toolbar. When this button is tapped, the variable isPresented is set to true. Once isPresented becomes true, the sheet is presented, displaying the SheetUIView.
Define the SheetUIView:
struct SheetUIView: View {
    @Environment(\.dismiss) private var dismiss
    var body: some View {
        ScrollView {
            VStack {
                Image("susan")
                .resizable()
                .aspectRatio(contentMode: .fit)
                Text("The sheet")
            }
        }.overlay(
            HStack {
                Spacer()
                VStack {
                    Button(action: {
                        dismiss()
                    }, label: {
                        Image(systemName: "chevron.down.circle.fill")
                            .font(.largeTitle)
                            .foregroundColor(.white)
                    })
                        .padding(.trailing, 20)
                        .padding(.top, 10)
                    Spacer()
                }
            }
        )
    }
}
Using the Environment‘s dismiss, we call DismissAction on the current view. The body of the view contains an image at the top and some simple text. Although sheets are typically closed with a top-down swipe action, this might not always be intuitive. Therefore, we add a close button for clarity. Specifically, we place a button on the top-right corner with an action that calls dismiss(), thereby closing the sheet.
Creating a Full-Screen Sheet:
First, let’s start with a small modification in the ContentView.
struct ContentView: View {
    @State var isPresented = false
    var body: some View {
        NavigationStack {
            Text("Sheet")
                .toolbar {
                    ToolbarItem(placement: .confirmationAction) {
                        Button("+") {
                            isPresented = true
                        }.font(.largeTitle)
                    }
                }
        }
        .fullScreenCover(isPresented: $isPresented){
            SheetUIView()
        }
    }
}
We replace sheet with fullScreenCover for this implementation.
In the SheetUIView, we ignore the safe area to achieve a visually appealing effect:

The code:
struct SheetUIView: View {
    @Environment(\.dismiss) private var dismiss
    var body: some View {
        ScrollView {
            VStack {
                Image("susan")
                .resizable()
                .aspectRatio(contentMode: .fit)
                Text("The sheet")
            }
        }.overlay(
            HStack {
                Spacer()
                VStack {
                    Button(action: {
                        dismiss()
                    }, label: {
                        Image(systemName: "chevron.down.circle.fill")
                            .font(.largeTitle)
                            .foregroundStyle(.white)
                    })
                        .padding(.trailing, 20)
                        .padding(.top, 10)
                    Spacer()
                }
            }
        ).ignoresSafeArea(edges: .all)
    }
}
A tip for both scenarios mentioned above: If you’re not using an image but rather a VStack within a ScrollView, it’s advisable to define the VStack with these dimensions:
ScrollView {
            VStack {
                Spacer(minLength: 100)
                Text("Hello")
            }.frame(maxWidth: .infinity, maxHeight: .infinity)
        }
        ......
This is necessary to prevent the close button, defined in the overlay, from following the text in the VStack and ensure it stays at the top right border.
That’s all for this post. In the next one episode-ii, we will explore additional scenarios for using sheets.
Note: English is not my native language, sorry for any errors. I use ChatGPT only to generate the banner of the post, the content is human.
2 thoughts on “SwiftUI Sheets Demystified (Episode I°)”