
Updated to iOS 18
In the previous posts, we have seen the fundaments of the SwiftUI. Now is the moment to starts to build something a bit more complex, how to implement the navigation in our apps with NavigationBar and the TabView.
NavigationBar
Start from the code of the previous post (https://nicoladefilippo.com/list-in-swiftui/):
struct Vehicle: Identifiable {
    var id = UUID()
    var name: String
    var image: String
}

struct ContentView: View {
    @State var vehicles = [Vehicle(name: "car", image: "car"),
                    Vehicle(name: "bus", image: "bus"),
                    Vehicle(name: "tram", image: "tram"),
                    Vehicle(name: "bicycle", image: "bicycle")]

    var body: some View {
        List {
            ForEach(vehicles) { vehicle in
                RowView(vehicle: vehicle)
            }
            .onDelete { (indexSet) in
                self.vehicles.remove(atOffsets: indexSet)
            }
        }
    }
}

struct RowView: View {
    var vehicle: Vehicle
    var body: some View {
        HStack {
            Image(systemName: vehicle.image)
                .resizable()
                .frame(width: 60, height: 60)
            Text(vehicle.name)
        }
    }
}
We want to tap on one row and skip to a new view.
The first step is add a NavigationStack:
var body: some View {
        NavigationStack {
            List {
                ForEach(vehicles) { vehicle in
                    NavigationLink { EmptyView()
                    } label:{
                        RowView(vehicle: vehicle)
                    }
                }
                .onDelete { (indexSet) in
                    self.vehicles.remove(atOffsets: indexSet)
                }
            }.navigationTitle("Transports")
        }
    }
In the NavigationStack we insert the List how in the previous example. To add a title to the NavigationStack, you have to use the navigationTitle function.
To jump to another view we have to use the NavigationLink. In the body of this, we insert the RowView (we want to click on the row to jump) and how destination we use EmptyView, a blank default view, so if we tap on any row:
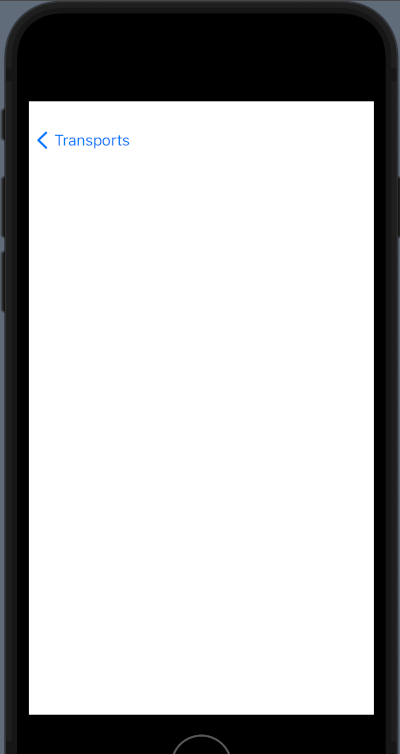
We want a not empty view but a view that display something.
Let’s go to create a view. First, from the file menu select the new file voice and then:
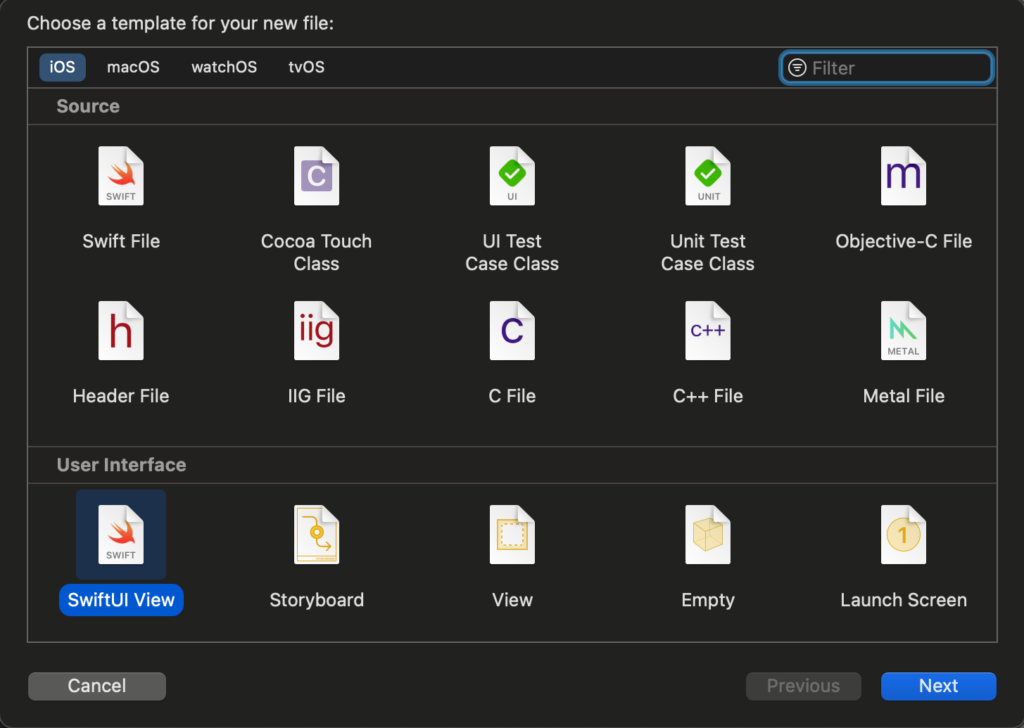
From the dialog select SwiftUI View and call it VehicleView.
Replace the EmptyView with the VehicleView:
NavigationLink {
      VehicleView(vehicle: vehicle)
    } label:{
         RowView(vehicle: vehicle)
    }
Now tapping on the list you jump on the new view and you’ll see “hello world”.
To show the info of the selected row, change the code of the VehicleView in:
import SwiftUI

struct VehicleView: View {
    var vehicle: Vehicle
    var body: some View {
        VStack(spacing: 20) {
            Image(systemName: vehicle.image)
                .resizable()
                .frame(width: 300, height: 300)
            Text("Selected the \(vehicle.name.uppercased())")
                .font(.title)
            Spacer()
        }
    }
}

#Preview {
    VehicleView(vehicle: Vehicle(name: "car", image: "car"))
}
In the view, there is defined a var of Vehicle type that we suppose contains the row passed, and show the information how defined in the VStack (see the post about VStack https://nicoladefilippo.com/layout-in-swiftui/). Note that in the Preview we pass a vehicle, it’s a default view used only for the preview (it’s helpful when you “design” the view without running the code).
How you can see we pass to the VehicleView vehicle. If everything it’s ok, if you tap the bus, you should have:
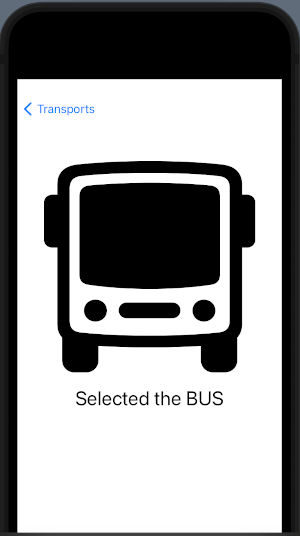
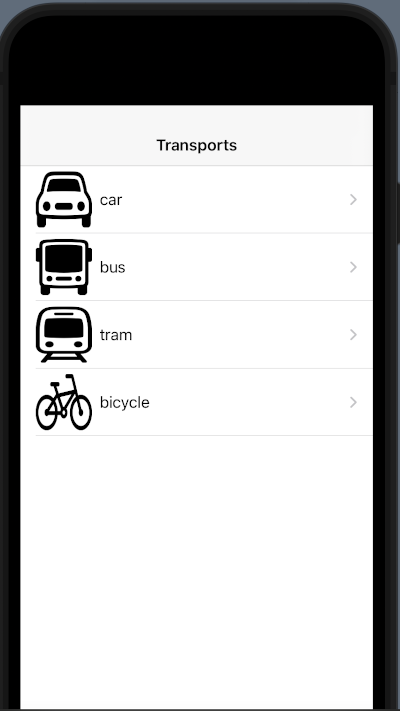
Is possible to have the title of the bar in the centre? Sure, add the navigationBarTitleDisplayMode in this way:
var body: some View {
        NavigationView {
            List {
                ForEach(vehicles) { vehicle in
                    NavigationLink(destination: VehicleView(vehicle: vehicle)) {
                        RowView(vehicle: vehicle)
                    }
                }
                .onDelete { (indexSet) in
                    self.vehicles.remove(atOffsets: indexSet)
                }
            }.navigationBarTitleDisplayMode(.inline)
                .navigationTitle("Vehicle")
        }
    }
Note the displayMode set to .inline.
Tab View
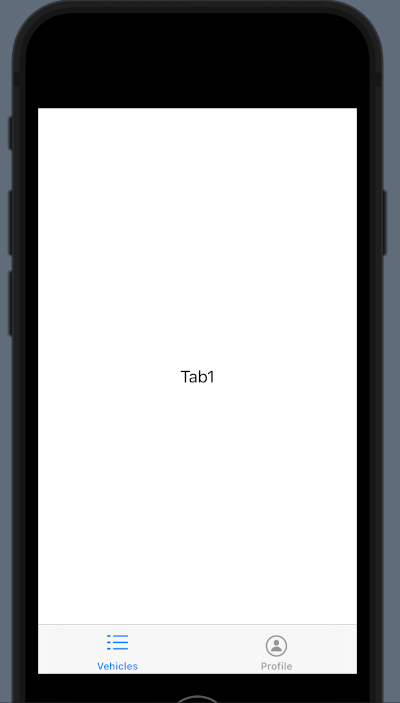
Now see how to define the TabView:
struct ContentView: View {
    var body: some View {
        TabView {
            Tab("Vehicles", systemImage: "list.dash") {
                Text("Tab1")
            }
            Tab("Profile", systemImage: "person.circle") {
                Text("Tab2")
            }
        }
    }
}
The magic word is TabView. In the body of this, we insert the views with relative Tab.
Now to create something more complex, we can use the code from the navigation stack example.
First, create a VehiclesView (note the plural).
import SwiftUI

struct Vehicle: Identifiable {
    var id = UUID()
    var name: String
    var image: String
}

struct VehiclesView: View {
    @State var vehicles = [Vehicle(name: "car", image: "car"),
                    Vehicle(name: "bus", image: "bus"),
                    Vehicle(name: "tram", image: "tram"),
                    Vehicle(name: "bicycle", image: "bicycle")]

    var body: some View {
        NavigationView {
            List {
                ForEach(vehicles) { vehicle in
                    NavigationLink(destination: VehicleView(vehicle: vehicle)) {
                        RowView(vehicle: vehicle)
                    }
                }
                .onDelete { (indexSet) in
                    self.vehicles.remove(atOffsets: indexSet)
                }
            }.navigationBarTitleDisplayMode(.inline)
                .navigationTitle("Vehicle")
        }
    }
}

struct RowView: View {
    var vehicle: Vehicle
    var body: some View {
        HStack {
            Image(systemName: vehicle.image)
                .resizable()
                .frame(width: 60, height: 60)
            Text(vehicle.name)
        }
    }
}

#Preview {
    VehiclesView()
}
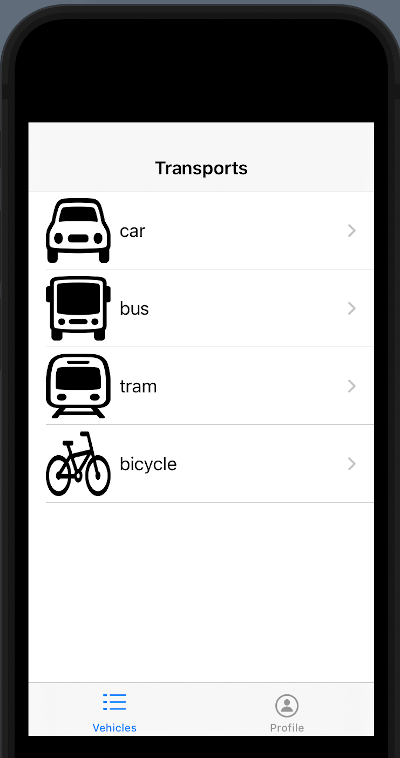
Then, create a VehicleView as in the NavigationStack example and then change the TabView:
struct ContentView: View {
    var body: some View {
        TabView{
            Tab("Vehicles", systemImage: "list.dash") {
                VehiclesView()
            }
            Tab("Profile", systemImage: "person.circle") {
                Text("Tab2")
            }
        }
    }
}
Now in the first tab, we have a navigation stack and we can navigate in the first tab.
For exercise, you can create a profile page.
Note: English is not my native language, so I’m sorry for some errors. I appreciate it if your correct me.
2 thoughts on “Navigation in SwiftUI”